January 1st, 2015
A shockingly good deal on a Nikon camera? Wow, I always wanted to get into photography. After taking so many pictures on a camera phone for 3 Up Golf, using a DSLR certainly had its allure. A DX body (D5200) with two “starter” lenses (55-200mm, 18-55mm) for $500? Let’s do this…
Fast-forward 9 months. I’d certainly experimented with the camera. Golf course pictures were really the only playground for experimentation, however. I needed to get out of a comfort zone and explore. Enter: the 365 day project. The goal was to take a picture for every day, edit it, and post it online, for an entire year. December 1st 2015 to December 1st 2016.
The Gear
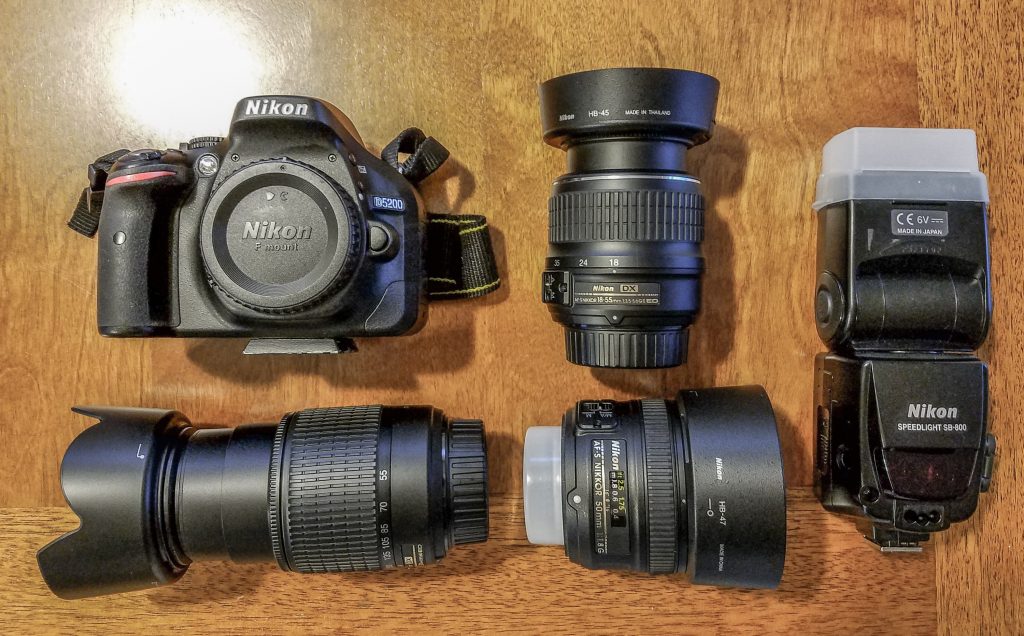
As previous mentioned, the bulk of pictures were taken using a Nikon D5200. 4 lenses were used over the course of the project:
- AF-S DX NIKKOR 18-55mm 3.5-5.6 (kit lens)
- AF-S DX 55-200mm 4-5.6 (kit lens)
- AF-S NIKKOR 50mm 1.8G
- AF-S NIKKOR 70-300mm 4.5-5.6 (VR)
The 70-300mm was picked up late in the project as a replacement for the kit 55-200. I needed the extra zoom for sports photography and my obsession with getting better moon pictures!
For an external flash, the Nikon Speedlight SB-800 was used. I made no use of off-camera flash during the course of the project.
Non-DSLR Gear
Sometimes, the DSLR wasn’t on-hand and an opportunity presented itself. For those occasions I used the Samsung Galaxy S7 to capture the moment. My experience with camera phone shots over the year is that the light range is quite acceptable but the sharpness is horrific. “Fix it in post” was frequently the solution. I’ll be interested to see how the Samsung images come out when printed.
I also purchased a “camera backpack”. For a ‘365er’, this was an invaluable purchase. I have multiple lenses, my laptop, and accessories with me every day during the week while at work. That’s invaluable when you’re looking for subject matter from literally anywhere.
RAW
All of my shooting was done in RAW. As I’ll discuss later, I use Lightroom for editing, so I felt it unnecessary to limit myself to JPEG’s and loose all that extra sensor data. Plus…HDR. Need I say more?
Hosting
The project started on 500px.com. 500px was a great place to start the project and more importantly, find inspiration. About half way through, however, I realized hosting my own gallery was more interesting. The “community” on 500px was practically non-existent (at least from my experience). In retrospect, going with a site like Flickr may have been for feedback purposes.
Back on my own website, I made use of the Robo Gallery WordPress plugin along with Enhanced Media Library and Exifography. Robo Gallery is a fantastic gallery plugin and my experience with it has been 100% positive. For anyone thinking about hosting images on their WordPress site, do yourself a favor and take it for a test drive. In case you were wondering, the pro version of Robo Gallery offers additional features that are easily worth $30.
You can see the entire gallery by visiting the 365 Gallery.
Editing / Catalog Management
Being a long-time Photoshop user, I opted to try managing a catalog and editing from within Lightroom. Adobe’s monthly Photography Package ($9.99/month) includes Photoshop and Lightroom CC. The Creative Cloud (CC) platform means you get the latest software, bonus online features, and other goodies. Given I was planning on using the software daily, the price was justified. I’ll actually be keeping my subscription up to date even after the project. Lightroom is an absolute joy to work in and I like how its catalog management system works.
Forced Creativity
There’s certainly a difference between stumbling upon photography subject matter and actively looking for a subject. By committing to capture something each day, your eyes become wider. Otherwise mundane commutes turn into random adventures down side streets. Cold snowy days are opportunities to hike through barren fields. Everything looks different when you’re looking for opportunities. That doesn’t mean every day is a goldmine of subject matter. There were certainly nights where the realization kicked in: “crap, I didn’t take a picture today”. Thus began the aimless wander around the house looking for the day’s bounty.
Skills/Lessons Learned
Depth of Field Takes Practice
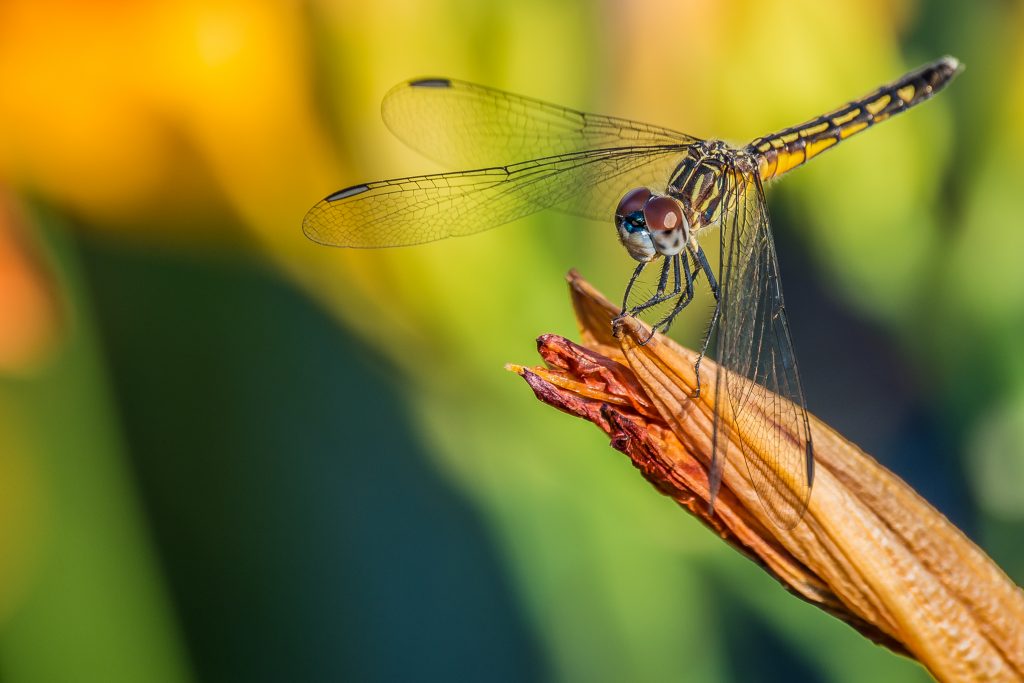
After picking up a 1.8 50mm lens (nifty fifty FTW!) I wanted to shoot everything in 1.8. Shallow depth of field has its place, but can ruin some subjects better shot with an aperture of 3 or 4. Learning what the best depth of field was for various subject matter took a lot of trial and error.
Bracketing Isn’t A Fix
I love HDR shots. The problem with loving a technique is that you walk around with a hammer, looking for nails. Quite a few times, too frequent to think about, I shot landscape sunsets in HDR, only to find out a single exposure would have been fine. The problem with shooting HDR in a “trial and error” scenario is that you’ve got to merge them in Lightroom – that takes time.
High ISO Isn’t Always Bad
There gets to be the time of year where sunlight just isn’t as plentiful, or you weren’t able to shoot when it was brighter outside. Left the tripod at home and need to hand-hold? Bump the ISO. It’s not the worst thing in the world to have a little grain in your pictures. Plus, I can smooth some of that out in post using Lightroom or Photoshop.
Always Have A Tripod
They’re small. They allow you to get nice sharp images. Sometimes they help you get angles you might not otherwise be able to achieve. Always have one handy. Oh, and spring for one that doesn’t suck. The first one I used was a ‘budget’ tripod. Junk. Spring for something with a ball head and thank yourself.
Let The Camera Do Some Work
“Oh Crap, she’s coming around the corner in 2 seconds.” That’s not the time to try and fiddle with ISO, set your aperture and grab a focal point. Sometimes ‘auto’ will do. I do find that ‘sport mode’ does a remarkable job for the advertised task. Rather than spend time with test-shots to get the right shutter speed and ISO for sports shots, I let the camera do some work and flip it to ‘sport mode’.
Tailing Interest
The last month of the project, November, certainly was challenging. Autumn had past, rendering the outside New England landscape rather drab. Work commitments piled up, eating free time and more importantly, creative energy. It would have been quite an achievement to actually take a picture every day for 365* days but alas, days were missed. I found myself sneaking in ‘catch up’ days where I went on photography missions. They were fun and looking forward, something I’ll continue to do. Looking back, one of the bigger reasons my interest level waned during the final month was the lack of outside inspiration such as a community website or a photography community in general.
The Final Project
The remainder of 2016 will be spent organizing the 366 pictures into a photo book. Having the project available on this website is a great memory but it isn’t quite as lasting, or impressive, as a printed book. 365 pictures is a lot, so finding a quality printing company, at an affordable price point, is the first order of business. After that, it’s layout, captioning (may skip the captions) and proofing.
In addition to printing a book, several of the pictures need to grace the wall of our home. There are a few gems that I’m particularly proud of that I’d like to see framed and hung.
What’s Next?
Photography is a lot of fun. I’ve had several hobbies come and go over the years but this one’s here to stay. A second tour of duty for a 365 project isn’t in the cards but I’ll still be taking pictures on a regular basis. Something I’d like to get more into is “project work” where a scene is staged and external lighting is used. Catching the first rays of sunlight and landscape photography, in general, are certainly some of my favorite moments. Consider me hooked.
Check out the completed 365 Gallery and thanks for stopping by!
* Actually, 366 pictures. 2016 was a leap year.
